Predator Installation Instruction
Posted by Pardusa on Nov 19th 2024
-
Ensure the Predator’s body is upright.
-
Rotate the eyepiece ring to its end position.
Attach the Adapter:
-
Ensure the Predator’s body is upright.
-
Rotate the eyepiece ring to its end position.
Secure the Adapter:
-
Tighten one set screw on the eyepiece ring’s mounting hole.
-
Tighten the adapter screw.
Install on Daytime Scope:
-
Release the adapter lever.
-
Attach the adapter to the daytime scope, ensuring both the daytime scope and Predator are upright.
-
Lock down the adapter lever.
-
Tighten the adapter’s middle fastening screws initially. Re-tightening is not required for subsequent use.

Final check:
-
Confirm the adapter lever is correctly positioned on top.
-
Ensure the Predator and daytime scope are horizontally aligned.
-
Verify that the connection is secure.
Detach the device:
-
Release the adapter lever.
-
Remove both the adapter and Predator together instead of unscrewing the Predator body separately.
By following the above steps, the Predator device is securely installed and perform optimally. For further assistance or any inquiries, please don't hesitate to contact us at support@pard-tech.com.
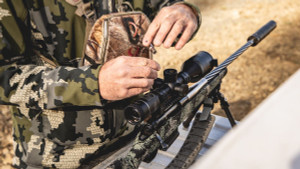
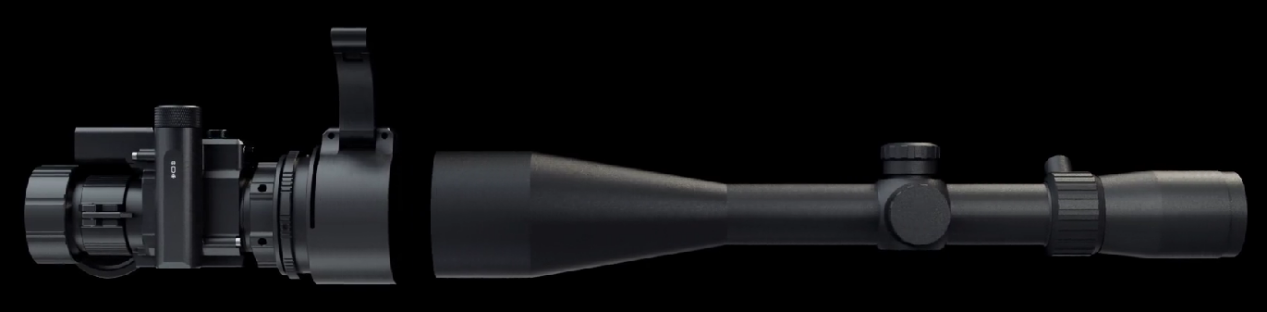
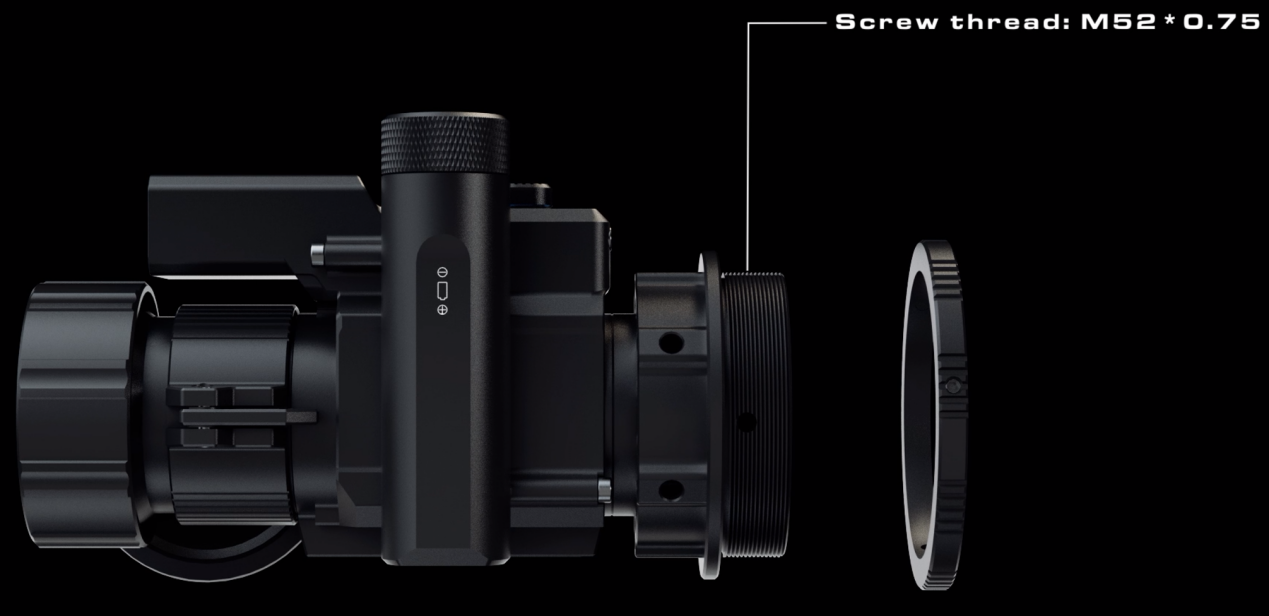
-->To ensure a secure installation and achieve optimal performance with your daytime scope, please follow the detailed installation instruction steps outlined below. Our adapter features a universal M52*0.75 screw thread, offering flexibility to buy either our adapter or a third-party option.
-
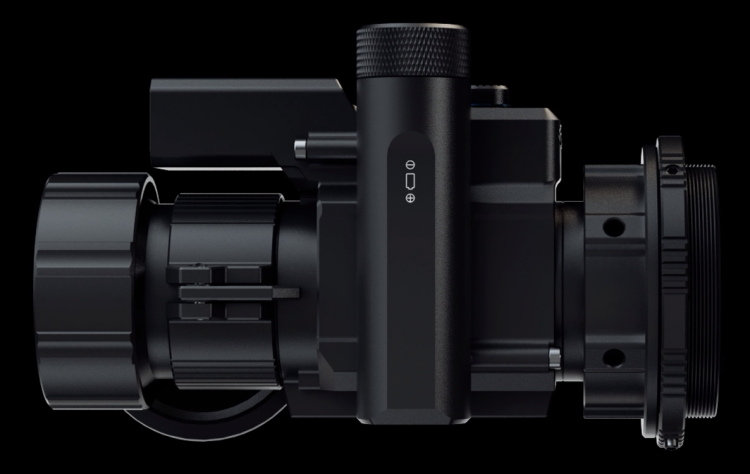
Prepare the Device:
-
Ensure the Predator’s body is upright.
-
Rotate the eyepiece ring to its end position.
-
-
Attach the Adapter:
-
Ensure the Predator’s body is upright.
-
Rotate the eyepiece ring to its end position.
-
-
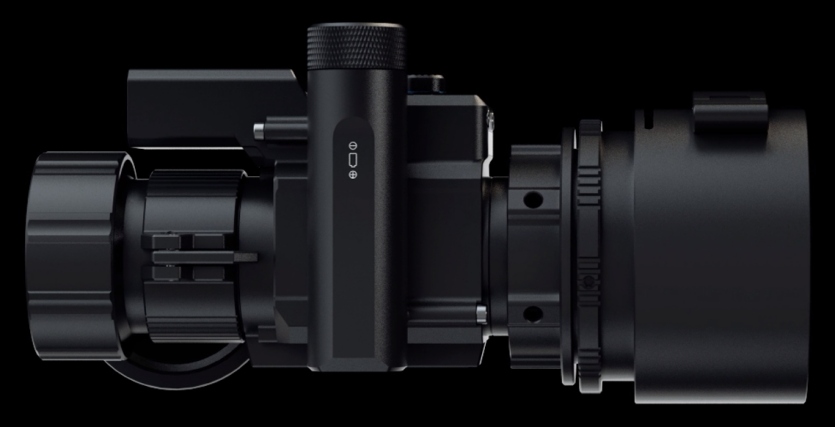
Secure the Adapter:
-
Tighten one set screw on the eyepiece ring’s mounting hole.
-
Tighten the adapter screw.
-
-
Install on Daytime Scope:
-
Release the adapter lever.
-
Attach the adapter to the daytime scope, ensuring both the daytime scope and Predator are upright.
-
Lock down the adapter lever.
-
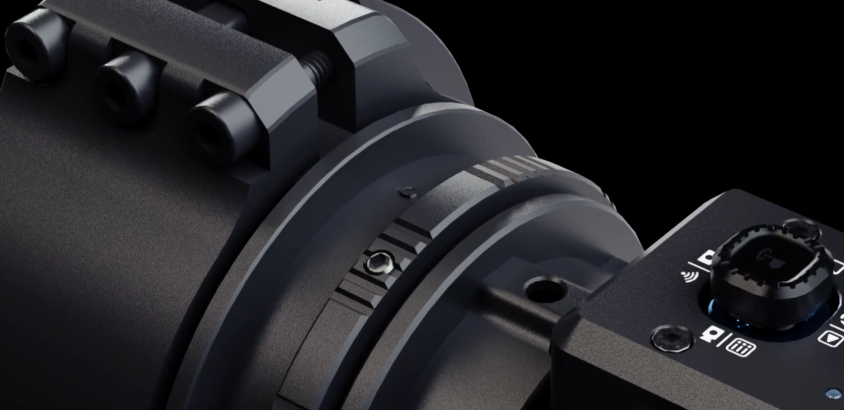
Tighten the adapter’s middle fastening screws initially. Re-tightening is not required for subsequent use.
-
-
Final check:
-
Confirm the adapter lever is correctly positioned on top.
-
Ensure the Predator and daytime scope are horizontally aligned.
-
Verify that the connection is secure.
-
-
Detach the device:
-
Release the adapter lever.
-
Remove both the adapter and Predator together instead of unscrewing the Predator body separately.
-
By following the above steps, the Predator device is securely installed and perform optimally. For further assistance or any inquiries, please don't hesitate to contact us at support@pard-tech.com.